The Complete Guide to Timber Floor Sanding in Auckland
Restoring timber floors is one of the most rewarding home improvement projects you can undertake. It peels back layers of age, wear, and old carpet to reveal the natural beauty hidden underneath. But it's also a process that requires skill, patience, and the right machinery.
Whether you've just bought an old villa in Grey Lynn or are renovating your family home on the North Shore, this guide covers everything you need to know about the professional floor sanding process in Auckland.
The Professional Floor Sanding Process: Step-by-Step
A quality result isn't just about the final coat; it's about the preparation. Here is exactly what happens when we restore your floors.
Step 1: Preparation and Repairs
Before a single machine starts, we prep the area. This involves:
- Punching down all nails below the surface (to protect our machines).
- Securing loose boards.
- Repairing damaged sections or replacing rotten boards with matching recycled timber.
- Removing staples and glue residue from old carpet.
Step 2: Coarse Sanding (The "Cut Back")
We use a large belt sander with coarse grit paper (usually 24-40 grit) to strip off the old finish, level the boards, and remove deep scratches or stains. This is the most aggressive stage and reveals the raw timber.
Step 3: Fine Sanding and Edging
Once flattened, we progressively move to finer grits (60, 80, then 100-120). This removes the scratch marks from the previous sanding.
Edging: The large machines can't reach the skirting boards, so we use specialized rotary edgers to sand the perimeter of the room by hand, blending it seamlessly with the main floor.
Step 4: Buffing (Screening)
The final sanding step involves a rotary buffer with a fine mesh screen. This blends the sanding patterns and creates a silky-smooth surface ready for coating.
Step 5: Coating and Finishing
We vacuum the floor meticulously. Then, we apply your chosen finish (usually 3 coats).
- Coat 1 (Sealer): Penetrates the wood and seals the grain.
- Light Sanding: We lightly sand the sealer coat to remove potential "grain raise".
- Coat 2 & 3 (Top Coats): Provide the protection and sheen (Matte, Satin, or Gloss).
Timeline: What to Expect
Day 1: Prep, Punching Nails, Coarse Sanding.
Day 2: Fine Sanding, Edging, First Coat.
Day 3: Light Sand, Second & Third Coats.
Day 4: Drying/Curing (No walking allowed).
Day 5: Light traffic allowed (socks only).
Choosing Your Finish
The finish determines the look and durability of your floor.
- Water-Based Polyurethane: Non-yellowing, low odor, fast drying. Keeps the timber looking natural and light.
- Oil-Based Polyurethane: Traditional amber glow, very tough, strong smell. Darkens the timber slightly (the classic "honey" look).
- Hard Wax Oils: Matte, natural look that penetrates the wood rather than sitting on top. Easier to spot-repair but requires more maintenance.
Expert Tips for a Perfect Result
- Clear the room completely: Curtains, removalists, and pets need to be gone.
- Check your power: Our machines need reliable power.
- Don't rush the curing: Walking on the floor too early can leave permanent footprints.
Ready to Restore Your Floors?
We've been restoring Auckland's floors for over 30 years. Let us bring your timber back to life.
Frequently Asked Questions
How messy is floor sanding?
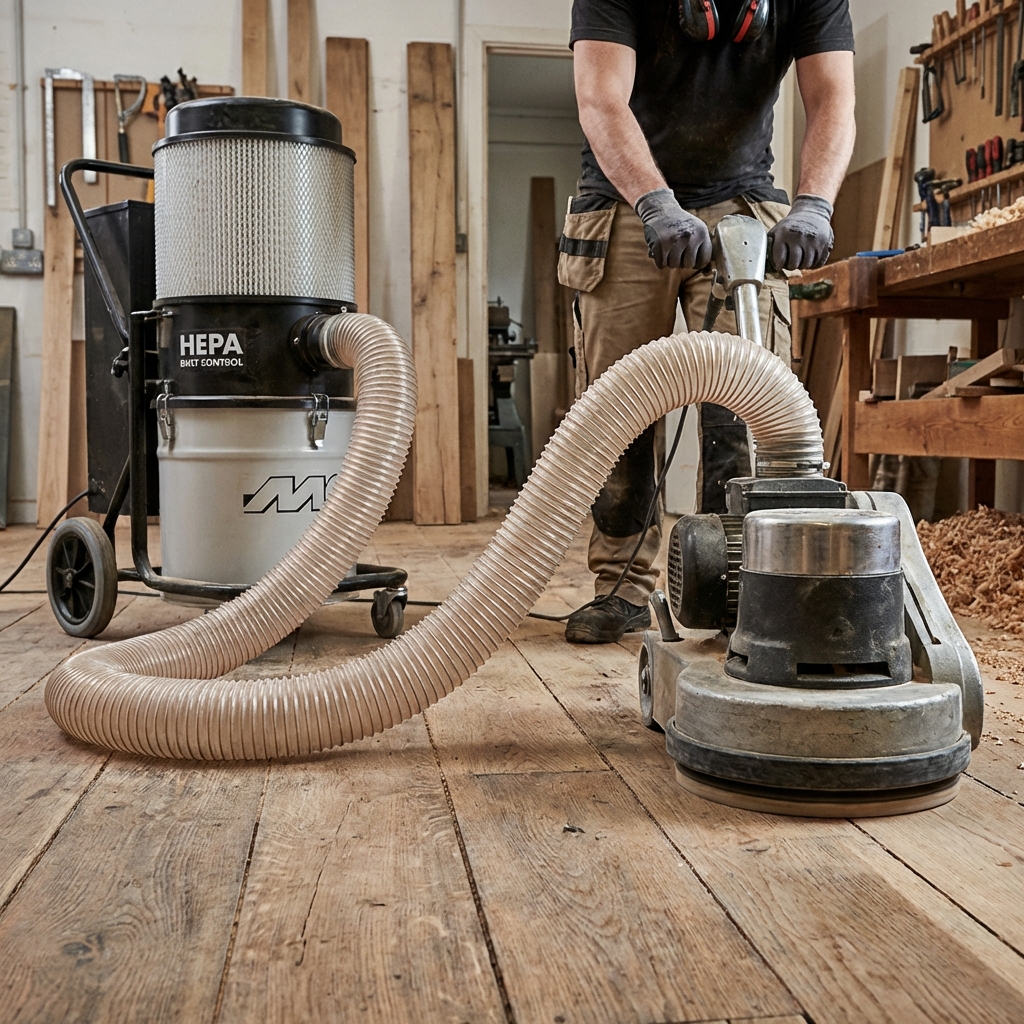
Modern floor sanding is surprisingly clean. We use industrial dust extraction systems that capture about 95% of the dust. You will find a fine layer of dust on surfaces after the job, but it's nothing like the 'dust storms' of the past.
Can I stay in the house while my floors are sanded?
We generally recommend moving out for 3-4 days, especially during the coating phase. Polyurethane fumes can be strong, and you cannot walk on the floors while they are wet.
How long does the smell last?
Water-based finishes have low odor that dissipates within 24 hours. Oil-based poly has a stronger solvent smell that can linger for 3-5 days. We recommend good ventilation during the curing process.
Do you fill the gaps between boards?
Yes, minor gaps are filled with a putty matched to your timber color. However, very wide gaps (caused by seasonal shrinkage) in old villas are sometimes best left alone, as filler can crack and pop out over time.